For a real-estate interior in 3ds Max, use a Physical Camera placed at roughly chest height, keep vertical lines straight with tilt correction, choose a moderately wide lens that shows the room without stretching the corners, and frame from a corner or doorway so the viewer understands the layout. Then lock the aspect ratio before you start lighting. Those five choices decide whether a render feels like a real property photo or like a 3D game screenshot.
In this guide I’ll go through each setting in the order I use when setting up cameras for apartment, villa and office interiors.
Key takeaways
- Use a 3ds Max Physical Camera at about chest height, kept level with its target.
- Turn on Auto Vertical Tilt Correction so walls stay straight.
- Pick a moderate wide lens (around 20–28 mm) instead of a fish-eye.
- Frame from a corner or doorway and show how rooms connect.
- Lock aspect ratio and resolution before you start lighting.
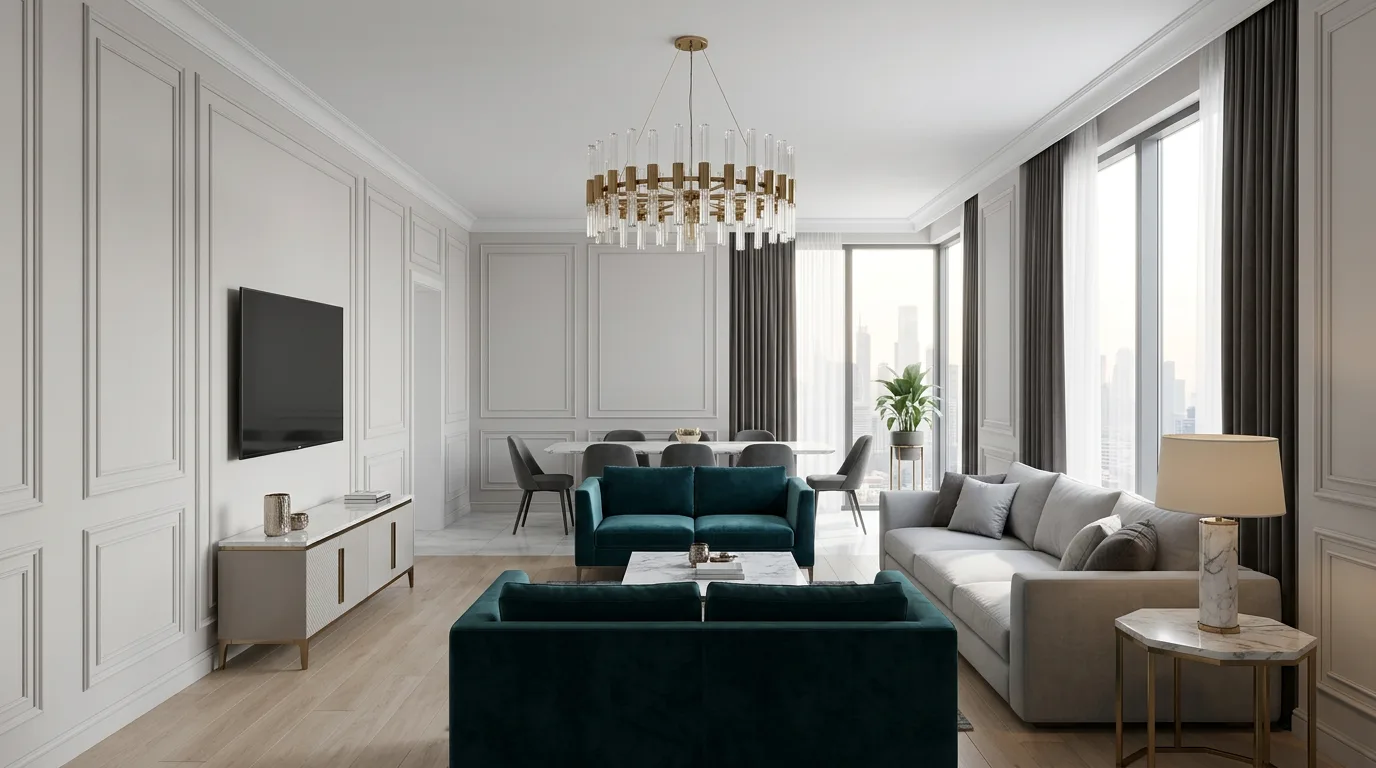
Why Camera Setup Matters More Than You Think
Buyers and agents look at hundreds of property images. Their eye is trained by real-estate photography: straight walls, natural height, bright and open rooms. If your camera is too high, too low, tilted, or too wide, the image looks “off” even when the modeling and materials are good.
A good real-estate camera has three jobs:
- Show the space honestly, so the buyer is not surprised later.
- Make the room feel open and bright, without heavy distortion.
- Lead the eye to the main feature: the view, the kitchen island, the living area.
Step 1: Create a Physical Camera
In 3ds Max, go to Create > Cameras > Standard > Physical. The Physical Camera works well with V-Ray and Corona and gives you real photo controls: focal length, exposure, depth of field and perspective correction.
Create it in the Top view by clicking where the camera stands and dragging toward the target. Then switch to a Perspective view and press C to look through it. Turn on Safe Frames (Shift + F) so you see the exact render area.
Step 2: Set the Camera Height
Real-estate photographers usually shoot at about chest height, a little lower than eye level. This keeps the furniture in proportion and shows a bit of floor and a bit of ceiling. Many archviz artists use something around 1.2 to 1.5 meters for living rooms and bedrooms, and adjust from there.
- Too high: You see the tops of tables and beds, and the room feels small.
- Too low: Furniture looks huge and the ceiling dominates.
- Kitchens and bathrooms: Go a little higher if you need to show the countertop surface.
Keep the camera target at about the same height as the camera at first. That keeps the camera level, which makes the next step easier.
| Situation | Camera position | What happens |
|---|---|---|
| Most rooms | About chest height, a little below eye level | Natural proportions, like real-estate photos |
| Kitchens and bathrooms | A little higher | Shows the countertop surface |
| Too high (avoid) | Standing eye height or above | You see tabletops and the room feels small |
| Too low (avoid) | Near the floor | Furniture looks huge and the ceiling dominates |
Step 3: Keep Vertical Lines Straight
Leaning walls are the number one sign of an amateur interior image. In real photography, architects and estate photographers use tilt-shift lenses or correct verticals in editing. In 3ds Max you can do it in the camera.
Select the Physical Camera, open the Perspective Control rollout, and enable Auto Vertical Tilt Correction. Now even if you aim the camera slightly up or down, vertical lines stay vertical. This is called two-point perspective, and it is the standard look for property images.
If you need a bit more ceiling or floor in the frame, use the lens shift in the same rollout instead of tilting the camera.
Step 4: Choose the Right Focal Length
Wide lenses show more of the room, but go too wide and corners stretch, round objects turn into ovals, and the space looks bigger than it really is. That can mislead buyers.
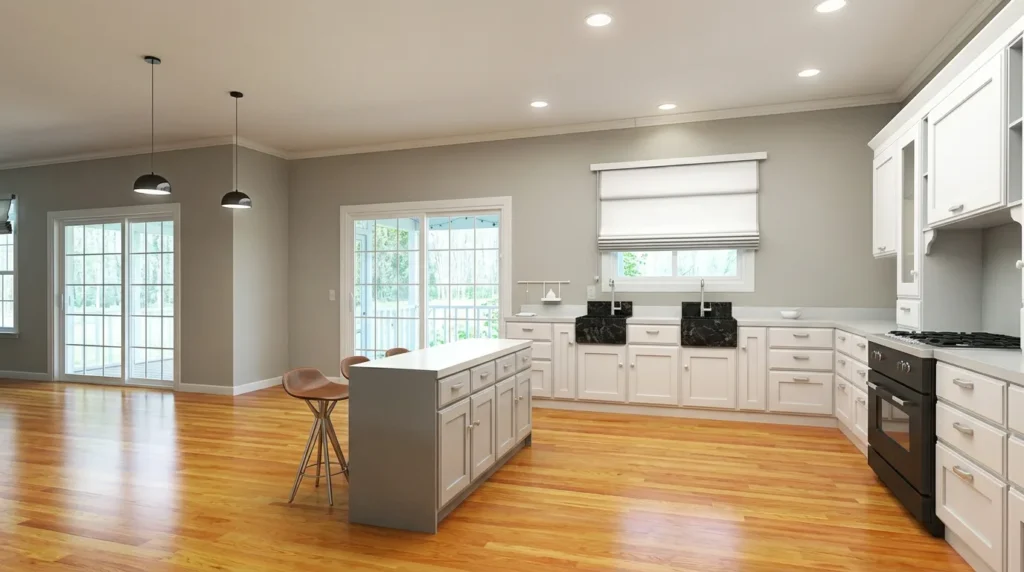
As a simple starting range, many artists use around 20 to 28 mm (on the default 36 mm film width) for full-room shots, and longer lenses for detail shots. Try a few values and look at the edges of the frame: if chairs near the border look stretched, step back or use a longer lens.
Tip
If the room is too small to step back, use the camera’s clipping planes. In the Physical Camera, enable clipping under the Miscellaneous rollout and set the near clip so the camera can “see through” the wall behind it. This gives you a natural lens without fake wide angles.
Step 5: Frame for the Layout
Composition in real-estate rendering is about understanding the space, not drama.
Shoot From a Corner or Doorway
A corner shot shows two or three walls and gives a sense of depth. A doorway shot shows what a visitor sees when they walk in. Both help buyers picture the layout.
Show Connections Between Rooms
For open-plan apartments, frame so the living area leads into the dining area or kitchen. This tells the buyer the rooms are connected.
Use the Rule of Thirds Lightly
Place the main feature (a window, a sofa, an island) near a third line. Turn on the grid in Safe Frames settings if it helps. Don’t center everything unless the room is symmetrical.
Leave Breathing Room
Don’t crop furniture in half at the frame edge if you can avoid it. A little empty floor at the bottom of the frame makes the room feel bigger.
Step 6: Set Aspect Ratio and Resolution Early
Decide the output size in Render Setup before lighting, because changing the aspect later changes the framing. Landscape is common for listing websites and brochures. Portrait or square crops are useful for Instagram and WhatsApp status. If you know the client needs both, set up separate cameras for each instead of cropping one image badly.
If you need help resizing finished images for social platforms, our free social media image resizer can help.
Real-Estate Camera Setup in 6 Steps
- Create a Physical Camera and turn on Safe Frames.
- Place it at chest height, level with the target.
- Enable Auto Vertical Tilt Correction.
- Pick a moderate wide lens and check frame edges for stretching.
- Frame from a corner or doorway; use clipping if the room is tight.
- Lock aspect ratio and resolution before lighting.
How Many Cameras Per Room?
For a typical listing, one strong wide shot per main room is the base. Living areas and kitchens often get a second angle. Add a detail shot (a vanity, a reading corner) if it sells something special. Agree on the number of views with the client before you start, because each extra view means extra rendering and revisions.
Common Mistakes
- Fish-eye lenses: Very wide focal lengths make rooms look bigger than they are and distort furniture.
- Tilted cameras without correction: Walls lean in or out. Always use vertical tilt correction.
- Camera at standing eye height or above: Shows too many tabletops and makes the room feel smaller.
- Pointing at a blank wall: The main feature should be in the frame, not behind the camera.
- Changing aspect ratio at the end: Breaks your composition and wastes test renders.
Frequently Asked Questions
What is the best camera height for interior renders?
There is no single number, but around chest height works for most real-estate shots. Adjust for kitchens, bathrooms and very small rooms, and keep the camera level.
How do I fix leaning walls in 3ds Max?
Use a Physical Camera and enable Auto Vertical Tilt Correction in the Perspective Control rollout. Use lens shift instead of tilting if you need more floor or ceiling.
Which focal length should I use for small rooms?
Avoid going extremely wide. Use clipping planes to move the camera back through a wall, and keep a moderate lens so the furniture stays in proportion.
Is the 3ds Max Physical Camera good for V-Ray?
Yes. V-Ray supports the 3ds Max Physical Camera, including its exposure and perspective controls, so you can set up the whole shot in one place.
Should real-estate renders use depth of field?
Usually keep it very light or off for main shots, because buyers want to see the whole room clearly. Depth of field works better for detail shots.
References
Official documentation and research used for this article:
- Autodesk 3ds Max Help: Physical Camera – the Physical Camera and its exposure controls.
- Autodesk 3ds Max Help: Perspective Control Rollout (Physical Camera) – Auto Vertical Tilt Correction and lens shift.
- Autodesk 3ds Max Help: Camera Correction Modifier – two-point perspective so vertical lines stay vertical.
- NAR: Make Sure Your Online Listings Shine – why listings need strong photos, staging and floor plans.
Want Property Renders That Sell?
See real examples of my interior camera work in the portfolio, or get a rough budget for your project with the 3D Render Cost Calculator. When you’re ready, send your floor plans on WhatsApp and I’ll suggest the best camera angles for your listing.